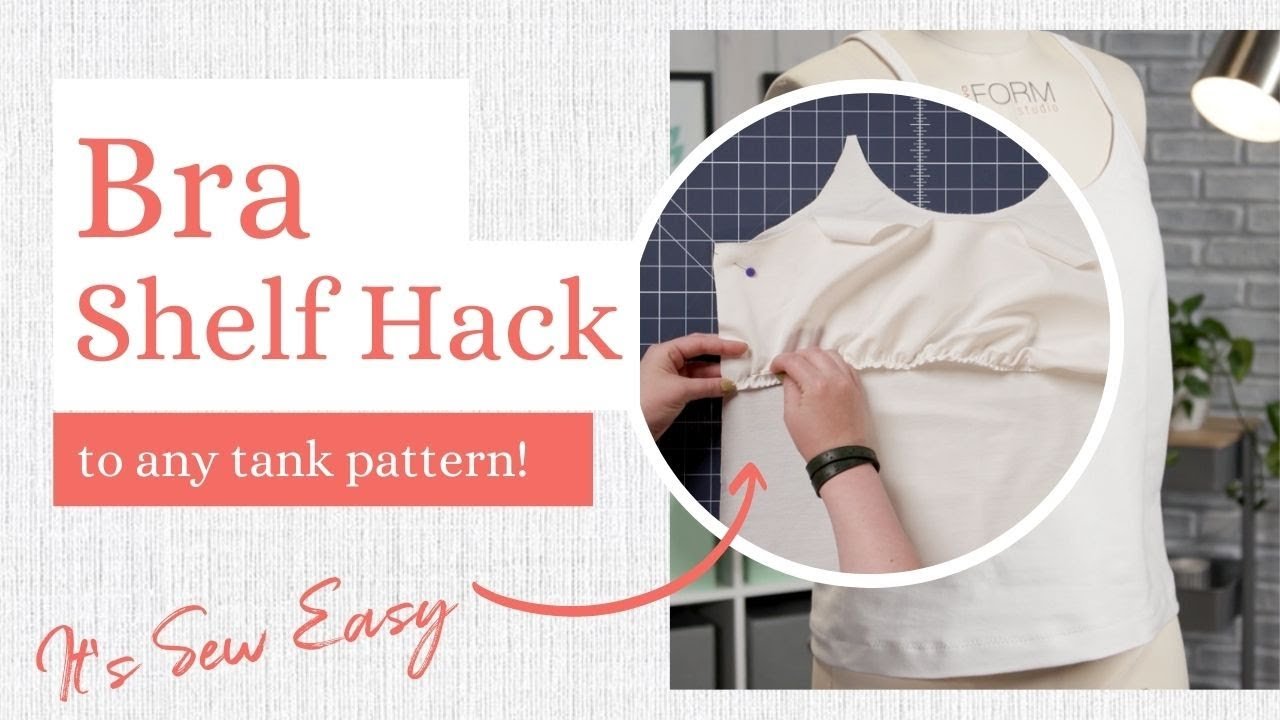
Sewing patterns for camisoles with built-in bras are a popular topic. Many people seek comfort and style in one garment.
Creating a cami with a built-in bra can be rewarding. It combines functionality with fashion, offering support and ease. Whether you’re new to sewing or experienced, this project is manageable. The built-in bra provides support without extra layers. It’s perfect for summer or as a base layer in colder months.
With the right pattern, you can customize the fit and style. This blog will guide you through the basics and benefits. You’ll find tips on choosing fabrics and patterns. Plus, we’ll discuss fitting techniques to ensure comfort. Ready to start? Let’s dive in and explore the world of sewing camis with built-in bras.
Introduction To Sewing Pattern Cami Built-in Bra
The Sewing Pattern Cami Built-in Bra is a versatile piece of clothing. It combines the comfort of a camisole with the support of a bra. This pattern allows you to create a custom-fit garment, perfect for everyday wear. Whether you’re new to sewing or a seasoned pro, this pattern can add a unique touch to your wardrobe. Let’s dive into the details and see why this sewing pattern is a must-have.
Importance Of A Built-in Bra
A built-in bra offers several advantages. First, it eliminates the need for separate undergarments. This means fewer layers and a sleeker look under your clothes. Second, it provides consistent support. No more worrying about straps slipping or bands riding up. Lastly, a built-in bra can enhance comfort. It is designed to fit your body perfectly, reducing discomfort and irritation.
Benefits Of Custom Fit
Creating a custom-fit garment has many benefits. Here are some key points:
- Comfort: A custom-fit cami conforms to your body shape.
- Support: The built-in bra offers the right amount of support.
- Style: You can choose fabrics and designs that suit your taste.
- Cost-Effective: Sewing your own clothes can save money in the long run.
With these benefits, the Sewing Pattern Cami Built-in Bra becomes an essential addition to any sewing project list. Happy sewing!
Choosing The Right Fabric
Choosing the right fabric is crucial for making a comfortable and stylish cami bilt in bra. The fabric you pick will affect the fit, stretch, and overall look of your project. Here, we’ll explore the best fabrics for cami bras and discuss fabric stretch and comfort.
Best Fabrics For Cami Bras
When sewing a cami bilt in bra, some fabrics work better than others. The best fabrics include:
- Cotton Jersey: Soft, breathable, and easy to sew.
- Bamboo Knit: Eco-friendly, soft, and moisture-wicking.
- Modal: Silky smooth, drapes well, and holds color.
- Rayon Spandex: Stretchy, comfortable, and durable.
Fabric Stretch And Comfort
The stretch of the fabric is vital for a cami bilt in bra. The fabric should stretch enough to fit snugly but not too tight. Look for fabrics with a 4-way stretch for maximum comfort. Here’s a quick guide:
| Fabric Type | Stretch | Comfort Level |
|---|---|---|
| Cotton Jersey | Moderate | High |
| Bamboo Knit | High | Very High |
| Modal | High | Very High |
| Rayon Spandex | Very High | Very High |
Comfort is a priority. Choose a fabric that feels good against your skin and allows for easy movement. A fabric that stretches well ensures the bra fits comfortably and retains its shape. This balance is key for a well-made cami bilt in bra.
Essential Sewing Tools
Creating a sewing pattern cami with a built-in bra can be a rewarding project. To achieve the best results, having the right tools is essential. This section covers the must-have tools and supplies, as well as optional tools for better results.
Must-have Tools And Supplies
For your sewing project, you need some essential tools and supplies. These will help you create a professional-looking garment.
- Sewing Machine: A basic sewing machine is crucial. It makes stitching faster and more precise.
- Fabric: Choose a fabric that is comfortable and has some stretch. Cotton jersey or spandex blends work well.
- Thread: Use a good quality thread that matches your fabric. Polyester thread is strong and versatile.
- Scissors: Sharp fabric scissors are a must. They ensure clean, accurate cuts.
- Measuring Tape: Accurate measurements are key. A flexible measuring tape helps measure body dimensions and fabric lengths.
- Sewing Needles: Have a variety of needles for different fabrics. Ballpoint needles are great for knits.
- Pins and Pin Cushion: Pins hold the fabric in place. A pin cushion keeps them organized.
- Pattern Paper: Pattern paper helps you draft and trace your sewing pattern. It is essential for accuracy.
Optional Tools For Better Results
While not essential, these tools can enhance your sewing experience and results.
- Rotary Cutter and Mat: These provide cleaner cuts and protect your surfaces.
- Overlocker (Serger): An overlocker finishes seams neatly. It is especially useful for knit fabrics.
- Seam Ripper: Mistakes happen. A seam ripper helps you fix them easily.
- Tailor’s Chalk or Fabric Markers: Use these to mark your fabric. They help with accuracy and are easy to remove.
- Point Turner: This tool helps create sharp corners and edges.
- Pressing Tools: An iron and pressing cloth ensure crisp seams. They make your garment look professional.
Having these tools will make your sewing pattern cami with a built-in bra project smoother and more enjoyable.
Credit: www.braandcorsetsupplies.com
Taking Accurate Measurements
Creating a well-fitted cami with a built-in bra requires precise measurements. Accuracy here ensures comfort and a flawless finish. Follow these steps to measure correctly for your sewing pattern.
Measuring Bust And Underbust
To measure your bust, wrap the tape measure around the fullest part of your chest. Ensure the tape is level and not too tight. Record this measurement.
Next, measure your underbust. Place the tape measure right under your bust. Keep it snug but not tight. Note this measurement as well.
| Measurement | Instructions |
|---|---|
| Bust | Wrap around the fullest part of the chest |
| Underbust | Wrap right under the bust, snug but not tight |
Adjusting For Personal Fit
Sometimes, standard measurements do not fit everyone perfectly. Adjustments may be necessary. To do this, consider your body shape and comfort preferences.
For a looser fit:
- Add extra inches to your bust and underbust measurements.
- Ensure the added inches are equal on both sides.
For a tighter fit:
- Subtract a small amount from your measurements.
- Test with a muslin or similar fabric first.
These adjustments help achieve a perfect fit for your unique body.
Creating The Sewing Pattern
Creating the sewing pattern for a cami with a built-in bra can be a fun and rewarding project. This guide will help you draft and adjust your pattern step-by-step. Let’s dive into the process and make your custom cami with a built-in bra.
Drafting The Pattern
Start by gathering your materials. You will need pattern paper, a ruler, measuring tape, and a pencil. Begin by taking accurate measurements of your bust, waist, and hips. These measurements are crucial for a well-fitting cami.
Next, draw a basic cami shape on your pattern paper. Use your measurements to ensure the pattern is accurate. Sketch the front and back pieces separately. Make sure to include the seam allowances.
Now, draft the bra portion. This part should follow the bust measurements closely. Draw the cups and the underband on the pattern paper. Ensure the cups have enough coverage and support.
Combine the cami and bra patterns. Align the bra cups with the cami front piece. Attach the underband to the bottom of the bra cups. This step ensures the bra is integrated seamlessly into the cami.
Adjusting The Pattern For Size
Once you have your draft pattern, it’s time to adjust it for size. Check the bust, waist, and hip measurements again. Make any necessary changes to the pattern to match these measurements.
Try a test fit using muslin fabric. Cut out the pattern pieces and sew them together. Wear the test cami and check for fit. Look at the bust, waist, and hip areas. Make sure the built-in bra provides enough support.
If adjustments are needed, mark the areas that need changes. Alter the pattern based on these marks. This step helps in ensuring a perfect fit.
After making adjustments, create a final test cami. Use the updated pattern and sew another muslin sample. Check the fit again. Make sure all areas are comfortable and supportive.
Once satisfied with the fit, your pattern is ready. You can now use it to create your cami with a built-in bra in your chosen fabric.
Cutting And Preparing Fabric
Cutting and preparing fabric for the Sewing Pattern Cami Bilt in Bra is an essential step. It ensures your garment fits well and looks professional. This guide will walk you through the process.
Cutting Out Pattern Pieces
Start by laying out your fabric on a flat surface. Pin your pattern pieces to the fabric. Ensure the grainline on the pattern aligns with the fabric grain. Use sharp fabric scissors for clean cuts. Cut slowly and precisely along the pattern edges. Keep the fabric flat and steady during cutting.
Marking And Notching
Next, mark all necessary points on your fabric. Use tailor’s chalk or fabric markers. Transfer any darts, pleats, or other markings from the pattern. Notch the fabric where indicated. Notches help in aligning pieces during sewing. Make small, precise snips to avoid fraying.
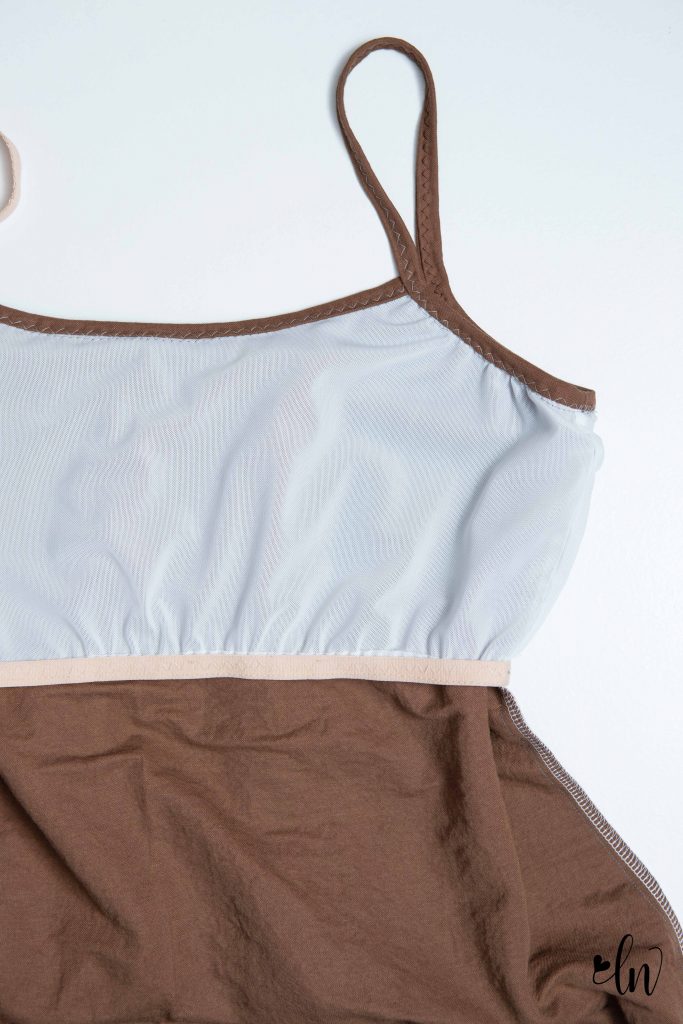
Sewing The Cami With Built-in Bra
Creating a cami with a built-in bra is a rewarding project. It combines style with functionality. This guide will help you step-by-step. Let’s start by assembling the bra cups and attaching them to the cami. Ready to sew? Let’s dive in.
Assembling The Bra Cups
First, gather your materials. You will need the fabric, lining, and foam for the bra cups. Cut the fabric and lining according to your pattern. Make sure the sizes match perfectly. This ensures a smooth sewing process.
Next, place the lining and fabric pieces together. Sew along the edges, leaving one side open. Turn the cups right side out. Insert the foam pieces into the cups. Align the edges carefully. Sew the open side to close the cups.
Attaching The Cups To The Cami
Position the assembled bra cups on the cami. Align them with the marked spots on your pattern. Pin them securely in place. Make sure they are even and symmetrical. This step is crucial for a neat finish.
Now, sew the cups onto the cami. Use a straight stitch for a clean look. Start from the top edge and work your way down. Reinforce the seams for added durability. Check that the cups are firmly attached. Your cami with built-in bra is almost ready.
Finish by adding any additional details as per your pattern. This could include straps or lace trims. Enjoy wearing your stylish and comfortable new cami!
Credit: www.lovenotions.com
Finishing Touches
Finishing touches on your Sewing Pattern Cami Built-in Bra make all the difference. These final steps ensure your project looks polished and professional. Let’s walk through the final stages to complete your cami.
Adding Straps And Elastic
Straps are vital for a comfortable and secure fit. Use strong but soft materials. Measure the strap length according to your comfort. Attach straps to the front and back of the cami with a zigzag stitch for extra security.
Next, add elastic to the underbust. This provides support and enhances the fit. Cut elastic to fit snugly under the bust, but not too tight. Sew the ends of the elastic together, forming a loop. Pin the elastic to the inside of the cami, stretching it slightly as you sew.
| Step | Action |
|---|---|
| 1 | Measure and cut straps |
| 2 | Attach straps with a zigzag stitch |
| 3 | Cut elastic to fit |
| 4 | Sew elastic ends together |
| 5 | Pin and sew elastic to underbust |
Hemming And Final Adjustments
Hemming gives your cami a neat finish. Fold the hem up twice and pin it in place. Use a straight stitch for a clean look. Make sure the hem is even all around.
Try on the cami and check the fit. Adjust the straps if needed. Ensure the elastic sits comfortably under the bust. Make any final tweaks to the hem or straps for a perfect fit.
- Fold hem twice
- Pin hem in place
- Use a straight stitch to sew hem
- Try on cami and check fit
- Adjust straps and elastic as needed
With these finishing touches, your Sewing Pattern Cami Built-in Bra is complete. Enjoy your new handmade piece!
Troubleshooting Common Issues
Sewing a cami with a built-in bra can be rewarding. But sometimes, issues arise. Here are solutions for common problems you might face.
Fit Problems And Solutions
One common issue is an ill-fitting cami. It might be too tight or too loose. To fix this, measure your body accurately. Use these measurements to adjust the pattern.
Another problem is the bra not providing enough support. Ensure the bra band fits snugly around your ribcage. If it doesn’t, consider using a firmer elastic band.
Gapping at the neckline or armholes can also occur. This often results from incorrect dart placement. Adjust the darts on your pattern for a smoother fit.
Handling Fabric Stretch
Stretchy fabrics can be tricky. They might stretch out of shape during sewing. To manage this, use a walking foot on your sewing machine. It helps feed the fabric evenly.
Sometimes the fabric puckers or gathers. This usually happens with lightweight knits. Use a ballpoint needle to prevent this. It slides between the fabric fibers instead of piercing them.
Stretched-out seams are another issue. Use a narrow zigzag stitch or a stretch stitch. These stitches allow the fabric to stretch without breaking the thread.
Caring For Your Cami Bra
Your handmade Cami bra deserves special care. Proper maintenance ensures longevity and comfort. Taking the right steps will keep your Cami bra looking beautiful and feeling great.
Washing And Maintenance Tips
Always hand wash your Cami bra. Use cold water and mild detergent. Avoid harsh chemicals and bleach. These can damage the fabric and elastic.
Rinse thoroughly to remove all soap. Squeeze gently to remove excess water. Do not wring or twist the fabric. This helps maintain the shape and fit.
Lay flat to dry on a clean towel. Avoid direct sunlight. Heat can weaken elastic and fade colors. Let it air dry completely before wearing or storing.
Storing Your Handmade Garments
Store your Cami bra in a cool, dry place. Keep it away from direct sunlight and heat sources. These can damage the fabric and elastic.
Fold it neatly and place in a drawer or on a shelf. Avoid hanging it, as this can stretch the straps and fabric. Use a soft, breathable storage bag for added protection.
Keep it separate from rough fabrics and items with zippers. This prevents snags and tears. Regularly check your storage area for any signs of moisture or pests.
Following these tips will keep your Cami bra looking fresh. Enjoy the comfort and style of your handmade garment for a long time.

Credit: m.youtube.com
Frequently Asked Questions
What Is A Cami With A Built-in Bra?
A Cami with a built-in bra combines a camisole and bra. It offers support and style.
How To Choose The Right Sewing Pattern?
Choose based on your size, style preference, and sewing skill level. Look for clear instructions.
Are Built-in Bras In Camis Supportive?
Yes, they offer moderate support. Ideal for casual wear and light activities.
Conclusion
Creating your own cami with a built-in bra is rewarding. The sewing pattern provides comfort and style in one piece. It’s a great project for both beginners and experienced sewers. Enjoy the process and the final result. Your wardrobe will thank you for it.
Happy sewing!